Sometimes it will be necessary to re-upload a new or revised data file for a dataset that has already been imported.
Some reasons for having to re-upload a file can include:
-
Additional respondents were collected in the survey and added to the data file
-
Revisions were made that required reissuing the data file
-
Additional variables were included
The data import process in Analyze will handle these reasons and others for needing to re-upload and re-import a data file.
The work that has already been done editing the dataset in Analyze will be saved and applied to the new data file to upload.
This eliminates the need to repeat the same editing steps.
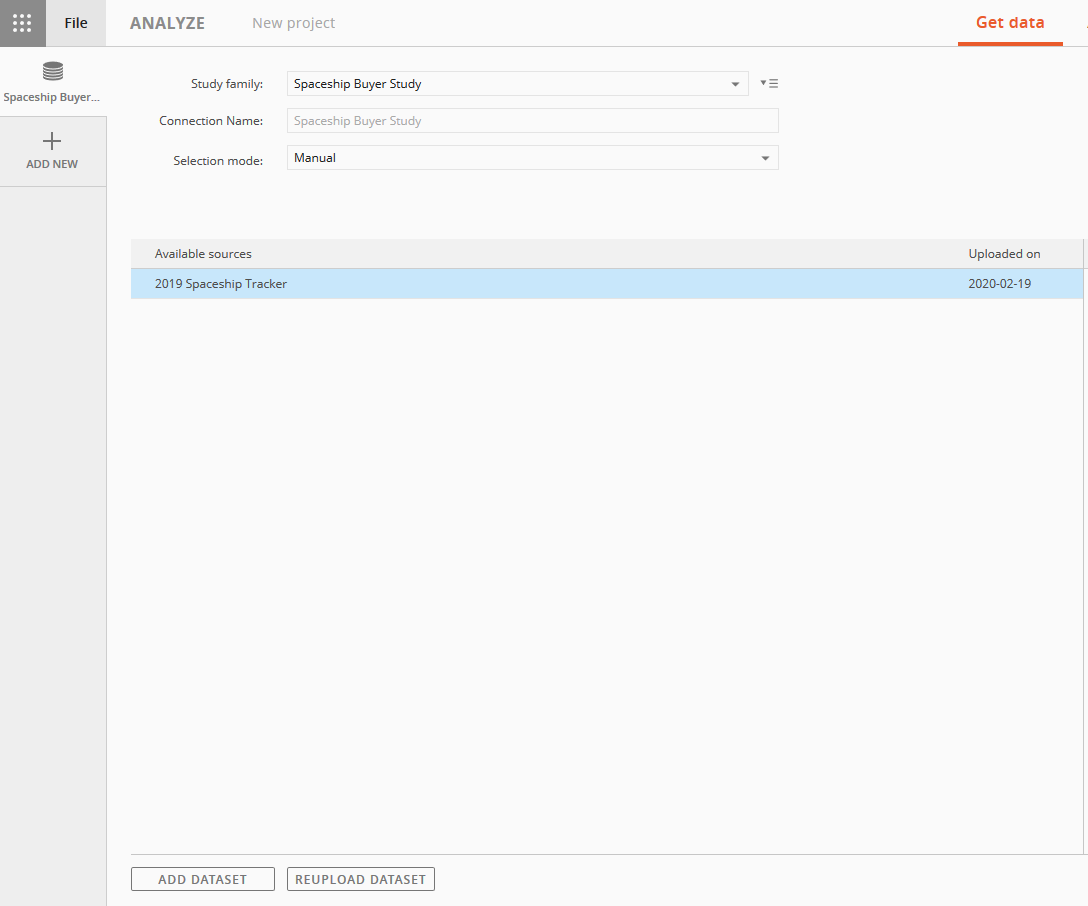
Get started by going to the Get Data screen in Analyze and select the study family that includes the dataset that needs to be re-uploaded.
Select the dataset to re-upload in the list of Available Sources.
Clicking on the dataset will display an additional button, Reupload Dataset, at the bottom of the page.
Click the Reupload Dataset button.
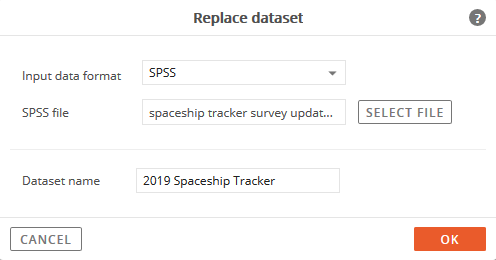
Click the Select File button to specify the new data file, then click OK to begin re-uploading process.
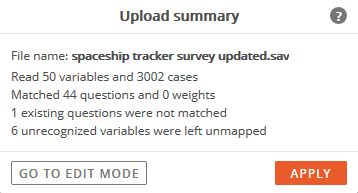
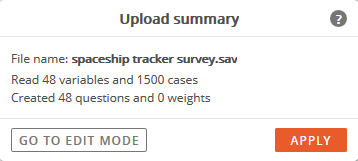
The upload summary is displayed after the dataset is converted.
The previous summary is included on the right for comparison.
The updated data file included:
-
Additional respondents
(1,502 more were added to the original 1,500 in the file)
-
2 new variables that were not in the previous file
These 2 new variables, plus the existing variables that were 'disconnected' make up the 6 unrecognized variables mentioned.
-
1 renamed date variable
The date variable was previously included, but the variable name was changed.
(This happens sometimes when the data vendor changes variable IDs or names.)
Next, the new variables will need to be applied to the dataset, along with addressing the 1 existing question that was not matched.
Proceed to Edit Mode, by clicking the Go To Edit Mode button.
The dataset can also be finalized and viewed in Analyze before editing by clicking the Apply button.
If the Apply button was used instead of Go To Edit Mode, after the dataset is opened in Analyze, the dataset can be edited by clicking the 3-dot menu and selecting Edit Questions & Sections and then clicking on the dataset name.
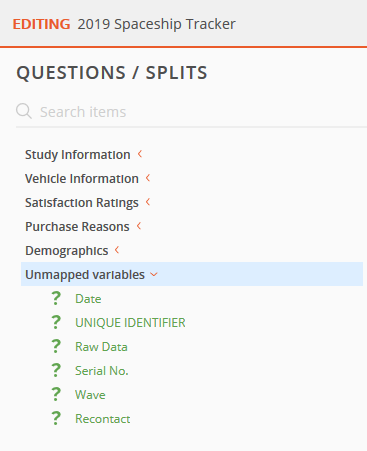
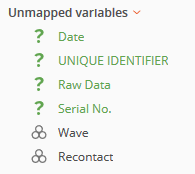
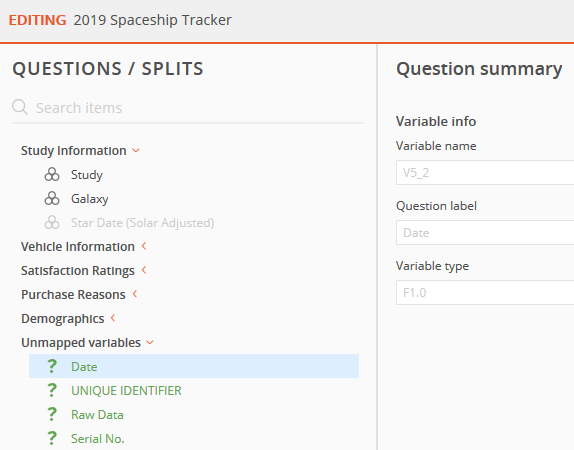
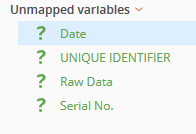
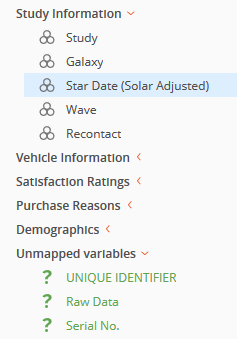
In Edit Mode, any variables that are new, not matched, or previously disconnected will appear at the bottom of the list in a section named, 'Unmapped Variables'.
Adding New Questions To The Dataset
New variables appear in the Unmapped Variables section because there is no existing reference to the previous dataset.
Any variables that were 'disconnected' in the previous dataset will also appear in this section.
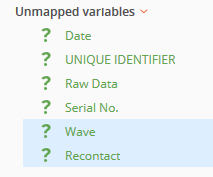
To add new variables as questions to the dataset, select them then click the Create Question button at the bottom of the page.
The icon and font color will change from the green question mark icon to black font and the category (or numeric) icon.
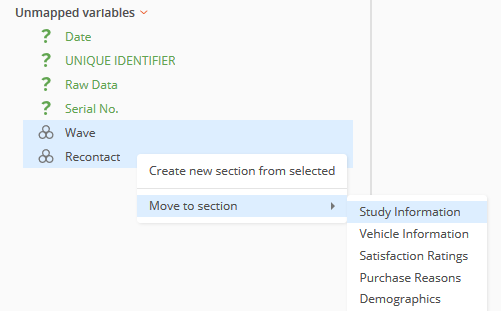
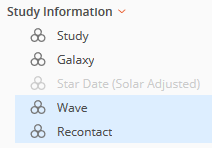
The newly added questions can be moved to their appropriate section.
Manually Matching Questions To The Dataset
When data files are revised, sometimes the variable names or IDs for existing questions might get changed between the previous data file and the new one.
The question structure and contents are consistent, but the inconsistencies in variable name or ID cause a mismatch in the dataset.
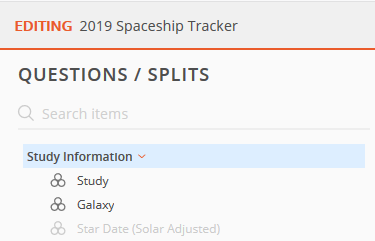
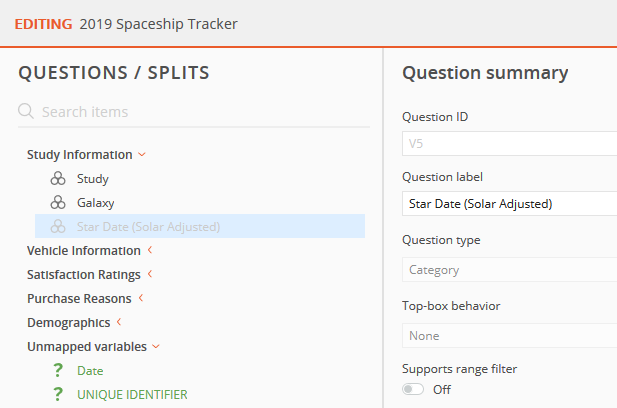
When this happens and the import process does not find a match in the dataset for existing questions, that existing question will appear in a light gray font to indicate it is now missing.
The Question ID from the old file: The Variable name from the new file:
The date variable was named 'V5' in the data file. The date variable is named 'V5_2' in the data file.
The question name was 'Star Date (Solar Adjusted)'. The question name is 'Date'.
Since the question contents are the same between the dataset and new data file, the Date question can be manually matched.
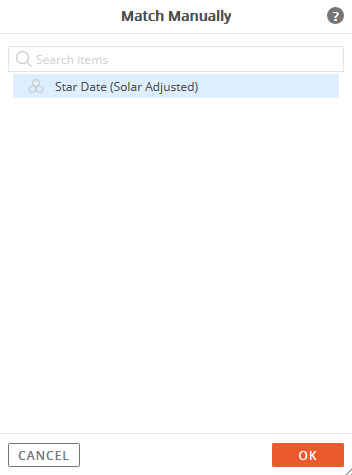
Select the question to match manually, then click the Match Manually button at the bottom of the page.
The Match Manually window will open and display possible question matches to choose from.
Select a question from the list (in some instances there may be only one to choose from), then click the OK button.
A match between the dataset and new data file is created. The question's status and font is updated. It no longer is displayed in light gray.
Confirm the changes by clicking the Apply Changes button in the upper-right corner.
All edits will be reflected in the updated dataset in Analyze.