Overriding And Publishing KPIs And Objects
Overriding a KPI or Object creates a new version of that selected resource.
The benefit of using the override feature is that the new KPI or Object will retain the same underlying identifier as the original.
After selecting override, modifying the new KPI/Object, and publishing it (an optional step), existing tabs/queries will recognize the updated KPI/Object instead of the original version.
Using the Override feature on a KPI or Object differs from using the Duplicate feature because duplicating a KPI/Object results in creating an entirely new KPI/Object with a different underlying identifier.
Duplicated KPIs and Objects can be modified, but existing tabs/queries that include KPIs or Objects will still reference the originals and not the duplicated versions, since a duplicated resource is created with a different identifier than the original KPI/Object.
Overriding a System KPI or System Object
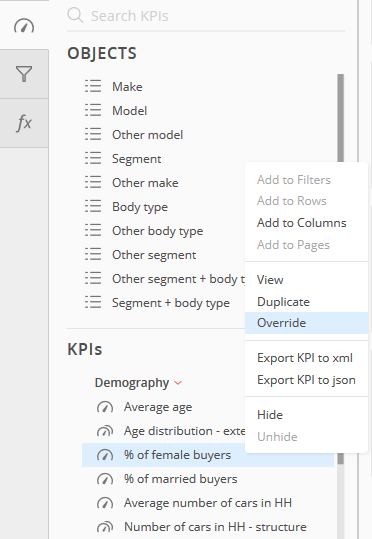
Begin by selecting an existing system KPI or Object.
Expand the menu and select the Override option.
This will create a new version of the KPI/Object.
Only one new version of an existing KPI/Object is supported with the Override feature. Multiple versions of the same KPI/Object cannot be created by using Override.
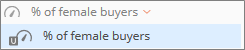
The newly created resource retains the same ID of the original KPI/Object and is displayed in the KPI or Objects sections below the original resource it was created from.
The new KPI/Object has a U included in the icon to identify it as user-defined.
After the new resource is created, the original KPI/Object will appear grayed out, which indicates that it is temporarily disabled.
Since this original ‘% of female buyers’ KPI has been disabled, any tabs/queries that are run will now include the new user-defined KPI that was created in the previous override steps.
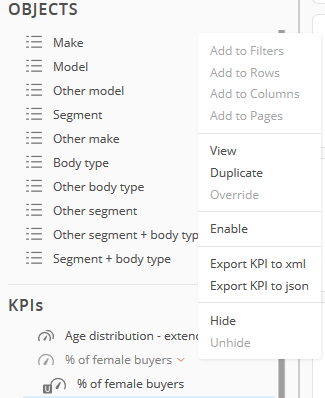
Note: To turn the disabled original KPI back on, click the Enable menu option.
Enabling the original KPI will disable the newly created user-defined KPI.
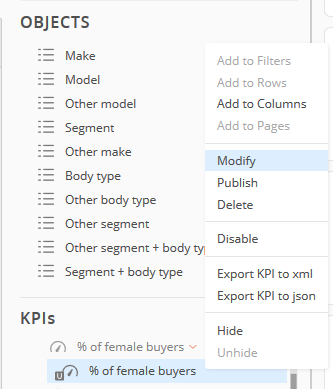
To make changes to the new KPI, select the Modify menu option.
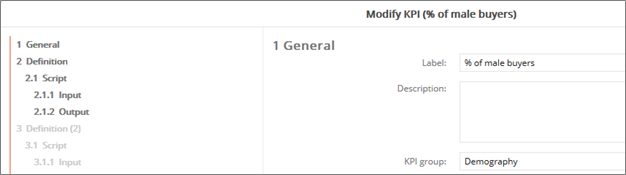
In the General section, update the title of the KPI to ‘% of male buyers.’
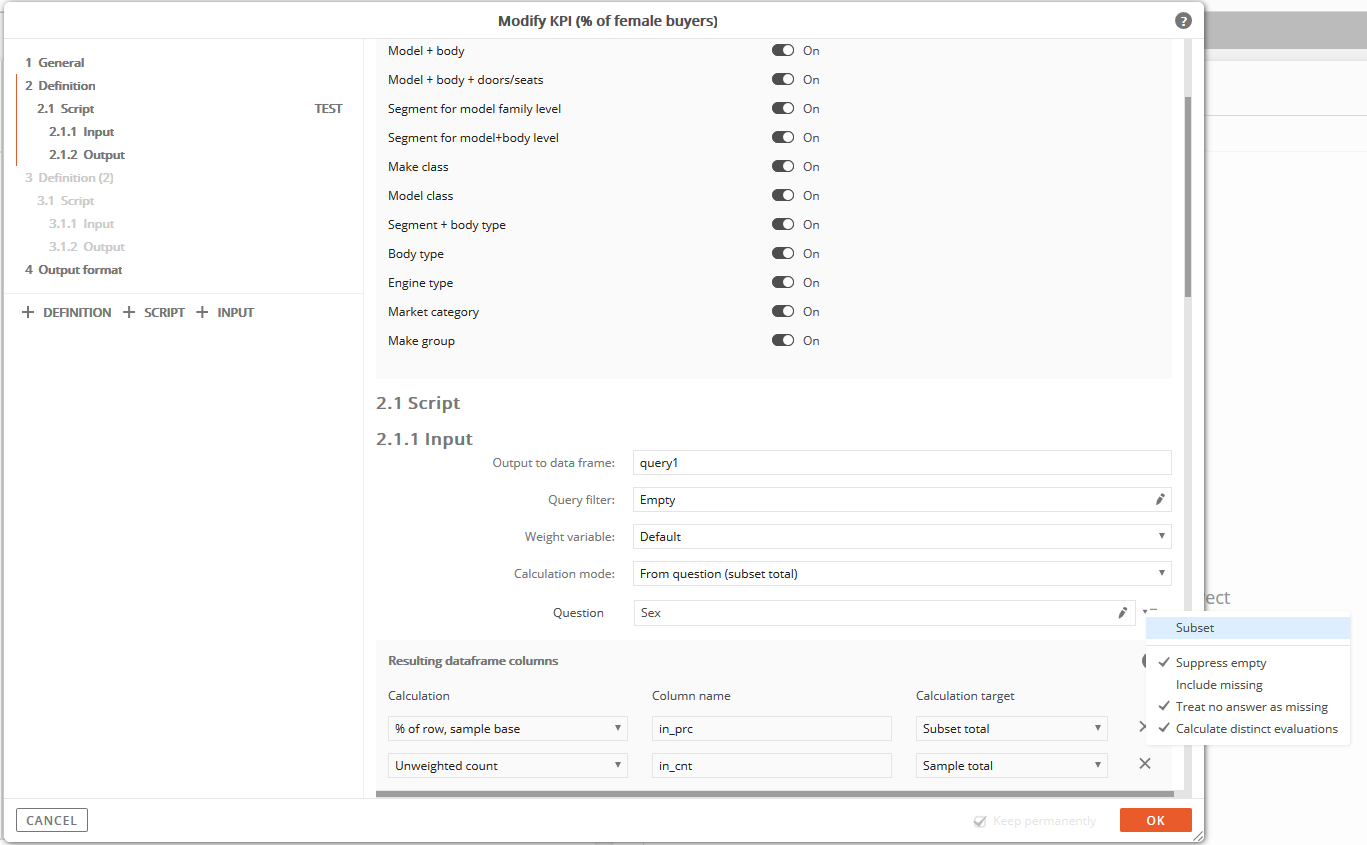
Next, click on the Definition section to change the subset included in the KPI.
This example’s KPI started as a % of Female Buyers.
Change the subset from female to male, then click OK.
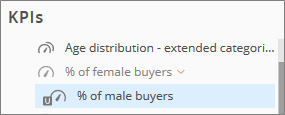
This KPI created from the Override process has now been modified to include % of Male Buyers.
Note: The active resource out of the two KPIs/Objects is displayed in a darker font (% of male buyers).
The KPI/Object that is temporarily disabled is changed to a gray font color (% of female buyers), but still has menu options available, such as the enable option.
Of these two KPIs (% of female buyers and % of male buyers), only the active KPI (% of male buyers) can be inserted and used in queries.
To use the % of female KPI in queries, it must be enabled.
Enabling the % of female KPI will disable the % of male user-defined KPI.
Before KPI Override
This example shows the KPI ‘% of female buyers’ included in a saved query.
At this point, no KPI override has occurred yet and the ‘% of male buyers’ KPI doesn’t exist.
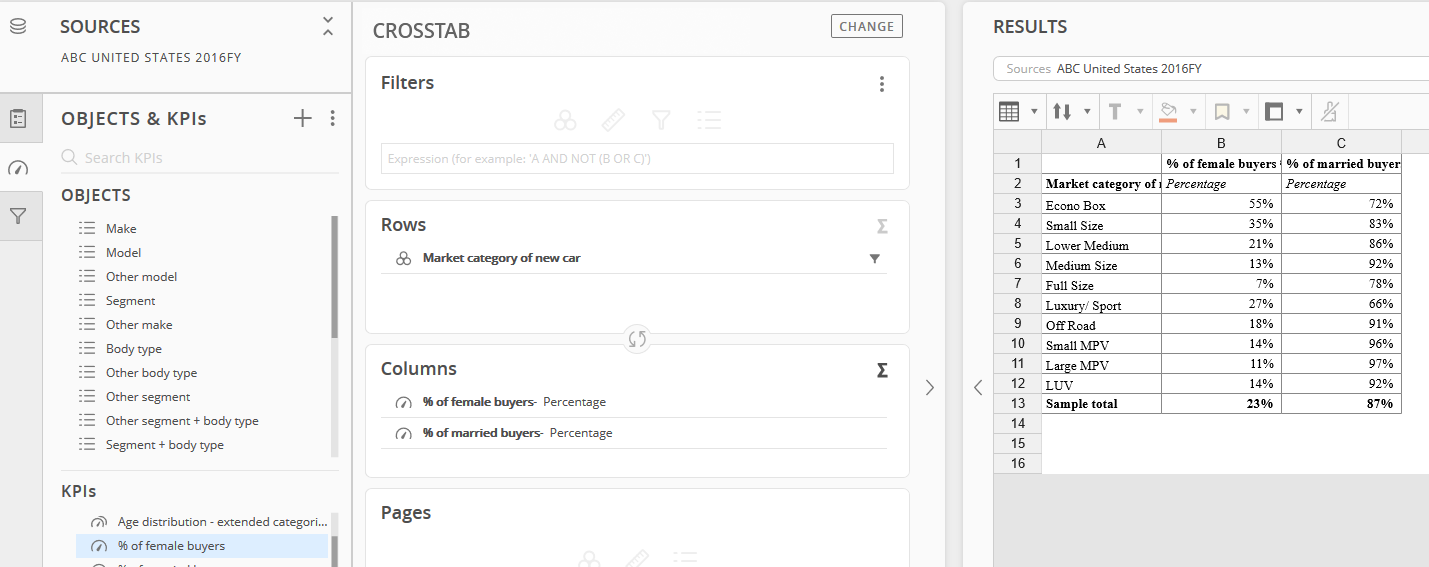
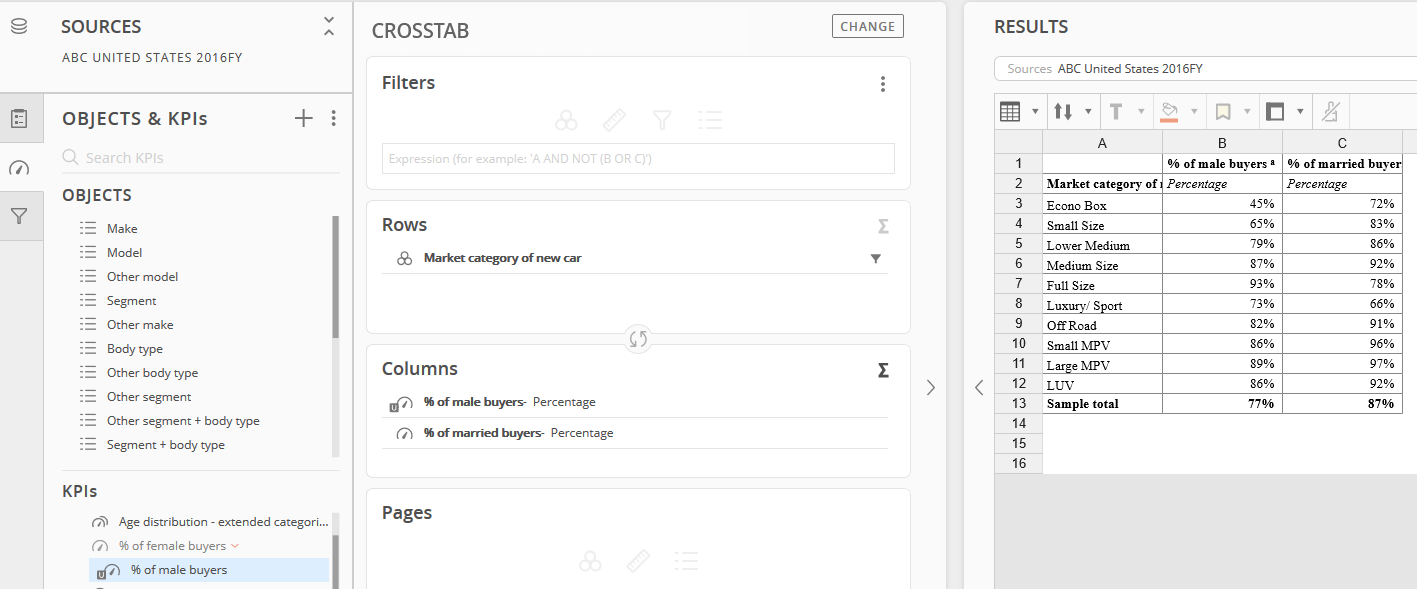
After KPI Override
After the override feature is used to create the ‘% of male buyers’ KPI, the % of female KPI is disabled and the % of male buyers KPI is automatically included in any saved queries.
In the Columns panel, the % of female KPI which was previously included is now automatically populated with the new % of male KPI.
In summary:
-
Overriding a system KPI or Object will create a new user-defined KPI/Object.
-
The new user-defined KPI/Object will immediately be enabled and the original system resource is disabled.
-
All tabs/queries in a project that referred to the original KPI or Object are now run using the overriding, user-defined version KPI/Object.
-
The overriding, user-defined KPI/Object can be disabled. This will enable the original KPI/Object and make it active again for inclusion in existing tabs/queries.
-
Overriding KPI/object is always considered permanent, but cannot be shared
-
If the overriding, user-defined resource is deleted, the original system KPI/Object becomes active/enabled again.
-
The Override feature supports only creating one new, user-defined KPI/Object from an original system KPI/Object.
Publishing the KPI or Object
User-defined KPIs and Objects can be published to be shared with other users.
This is an administrative task and the steps are not covered in this online manual
For more information on this topic, contact your mTab representative.