Storybuilding Interface for Tables
In Storybuilding, additional actions become available in the Tables interface. All of those actions are available within the context menu present next to each Table. Some of those are also exposed in the toolbar on top of the Table results view. The actions in Storybuilding mode for Tables correspond with analogical actions available in the Query interface in Authoring mode - anything done in Storybuilding will also be reflected in Query.
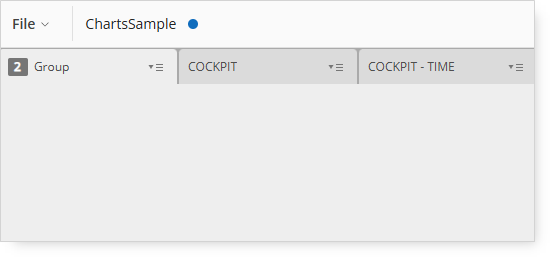
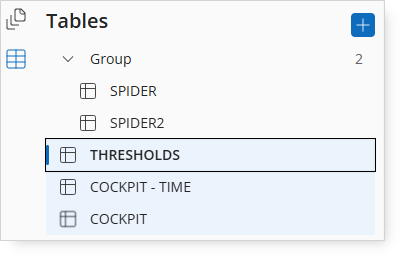
Grouping tables
If the tabs in the Query module were organized in Groups, the same grouping would be reflected in the Storybuilding mode.
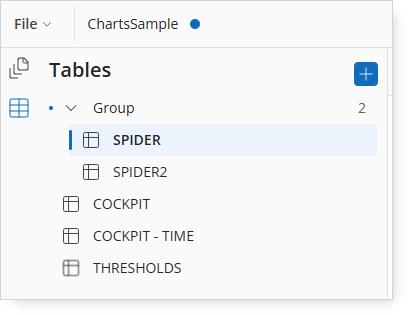
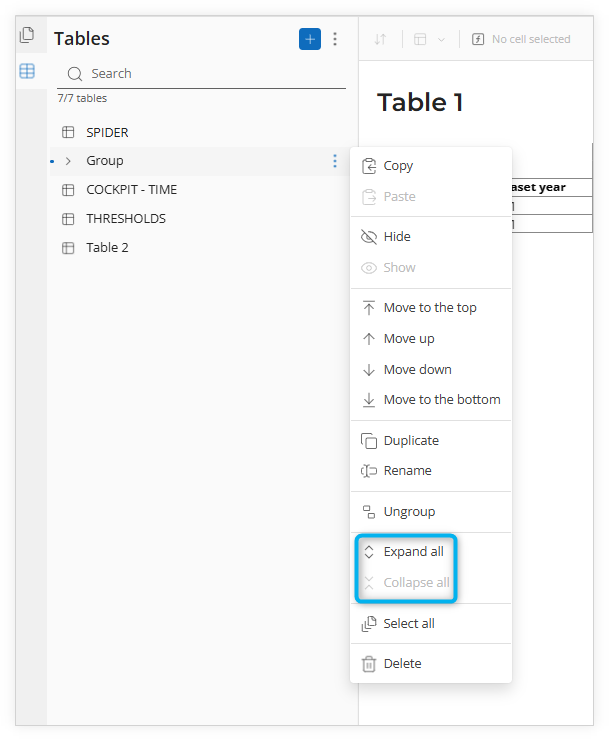
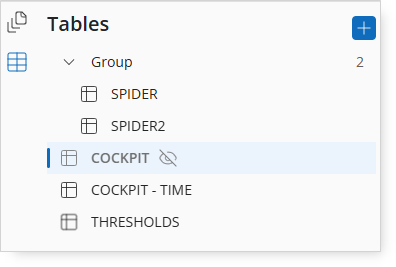
Groups can be expanded/collapsed by simply clicking on the group name. It is also possible to collapse/expand all groups with actions in the context menu. Note that you can sometimes see an additional dot next to the group name, which indicates that the table currently displayed is within this group. Groups cannot be opened in the results view. They only serve the role of the containers for Tables.
It is also possible to create a new group from the context menu, move tables to existing groups, or ungroup them.
Reordering tables
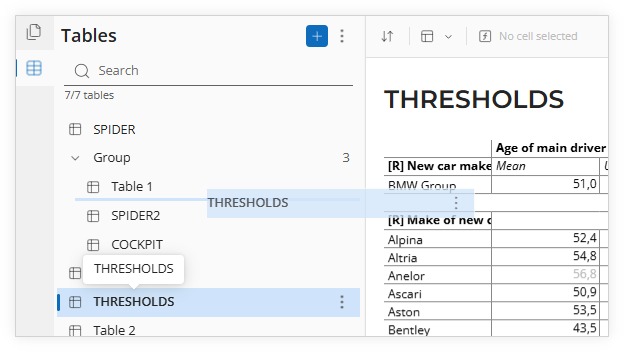
As with Pages, it is possible to reorder the tables using drag & drop.
The table ribbon supports multiselection—you can achieve it by selecting other pages with the SHIFT or CTRL button pressed. Note that when multi-selecting tables, the last clicked table becomes active. The table ribbon interface highlights the selected tables, with an additional bold on the active one. You can also drag & drop groups, as well as include them in your multiselection. Note that selecting a group is only possible with CTRL or SHIFT selection - just clicking on a group opens it rather than selecting and activating it. If you select a group, it automatically selects all Tables within this group.
When dropping multiple selected tables, they are positioned in the new place in the same order as they had originally, for example - if you select tables 1, 3, and 5, and move them after table 7, the order of the tables will now be (concerning their original position) 2-4-6-7-1-3-5. If you drop them within an existing group, they will become part of that group.
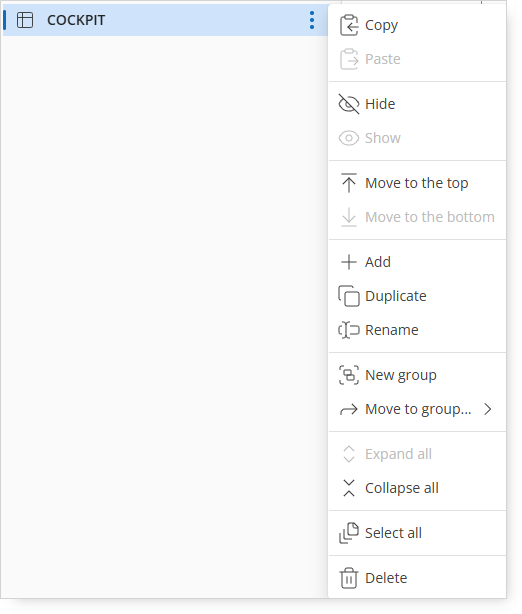
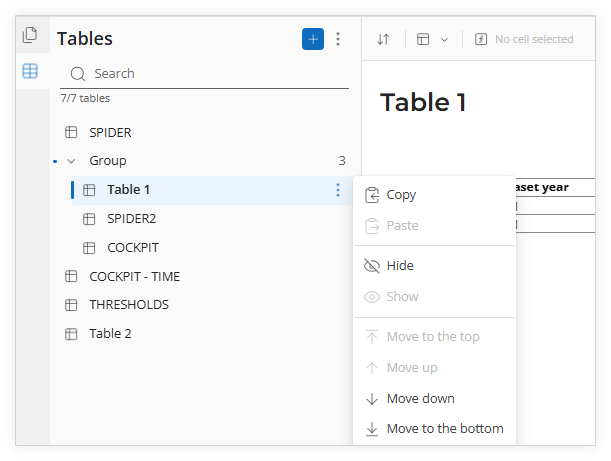
Table context menu
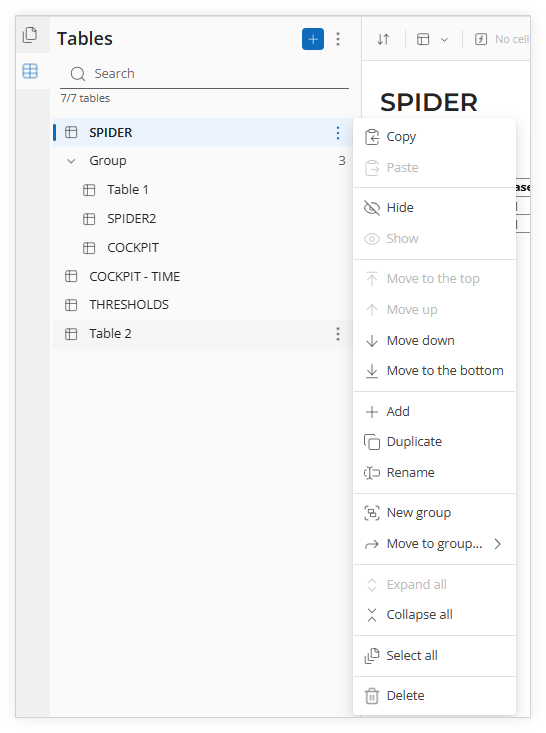
Each table has a context menu available next to the table name.
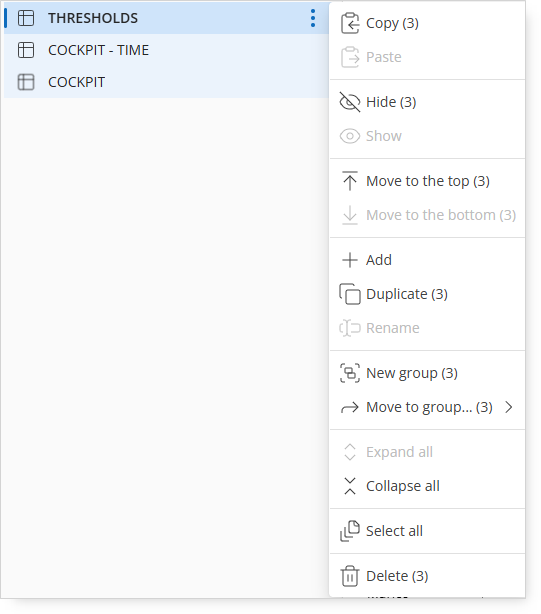
This menu is also available of active multi-selection, and the actions apply to all selected Tables.
The options available include:
-
Copy/paste action (paste action is available if something has been copied earlier and adds a copy of selected tables after the currently active table);
-
Hide/show tables (see below);
-
Move selection to top/bottom (in case of multiselection, this behaves in line with drag & drop behavior);
-
Add tables (see detailed overview of adding tables below);
-
Duplicate tables (makes a copy of selected tables after the last selected table);
-
Rename tables (see below);
-
Actions related to grouping;
-
-
Delete selected tables (see below).
Note that when you copy or duplicate tables underneath, they will use the same data connections and parameters as the source tables. This means that if you change a parameter value on the copied table, it will affect the source table as well.
Keyboard shortcuts
There are several additional keyboard shortcuts supported when working with the table ribbon:
-
Arrows can be used to navigate across tables. Note that you need to confirm with Enter if you want to show the Table you have selected in this way;
-
SHIFT + arrows can be used to extend the selection of the tables;
-
CTRL+A can be used to select all tables;
-
CTRL+C and CTRL+V can be used for copy/paste actions;
-
DEL can be used to remove tables.
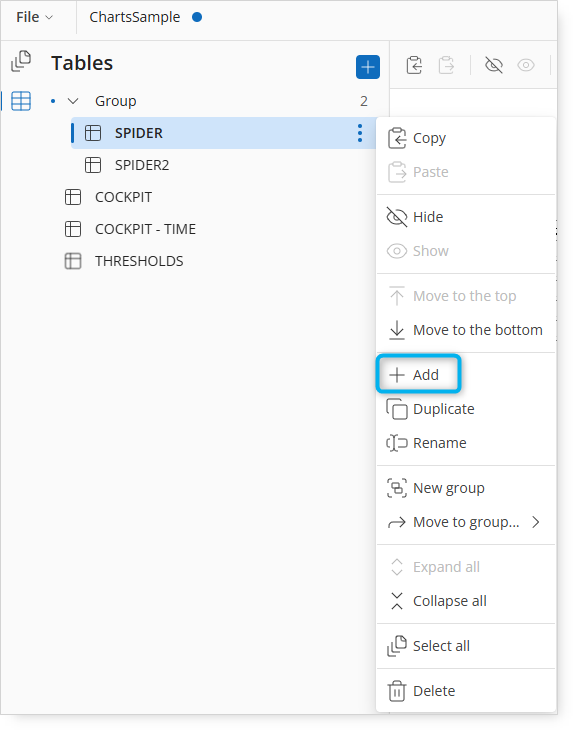
Adding tables
Adding tables works analogically to the Add pages. It can be triggered either with the button on top or from the context menu.
This will work in the same way as adding pages. It will merge the full content from the source report into your current report. All tables will be added after the one that is currently active. All pages will be added after the last page in the current report.
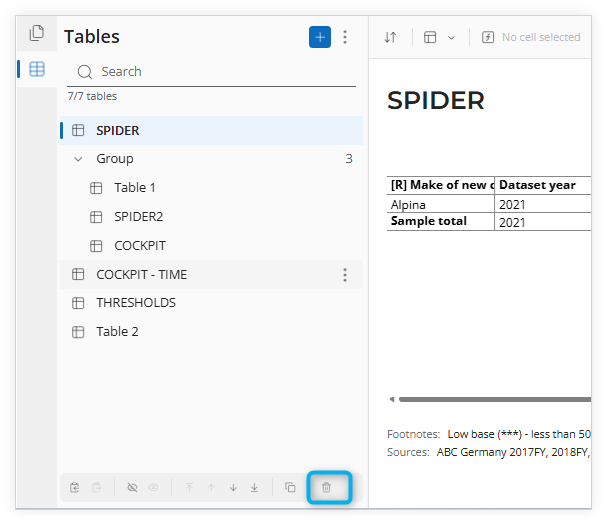
Removing tables
The delete action is available via a dedicated button in the toolbar at the bottom of the page and from the context menu.
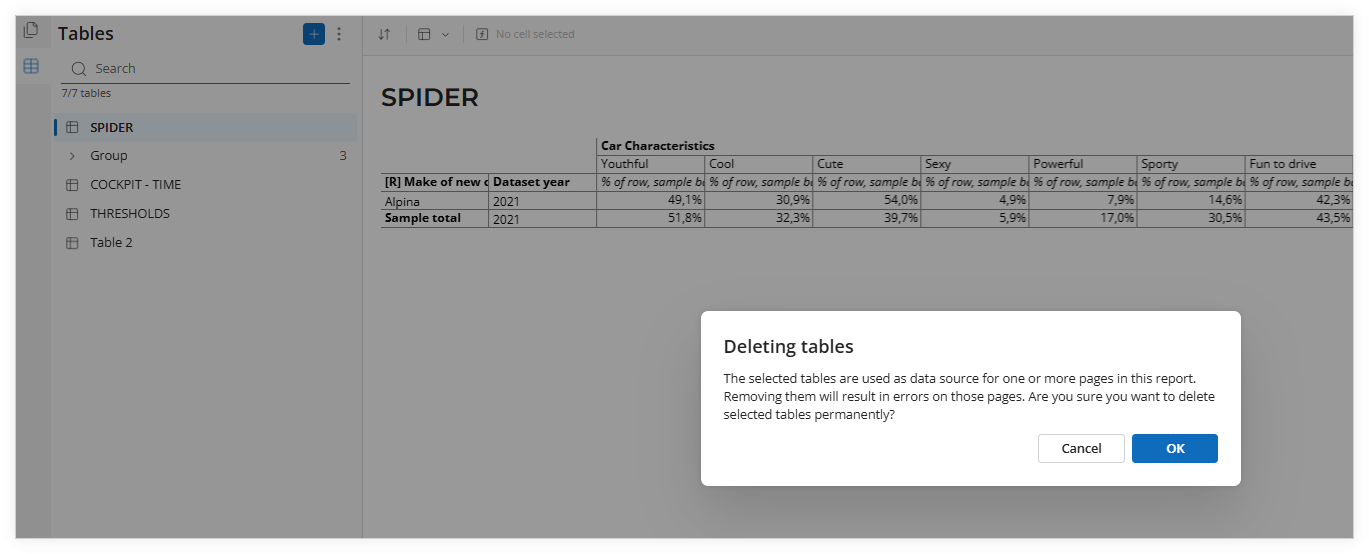
Deleting a table includes an additional precaution to avoid removing from the report a table that also works as a source of data for one or more pages. If the user tries to remove the table linked to any of the pages within the report, an additional disclaimer will appear in the prompt to confirm the removal.
Renaming tables
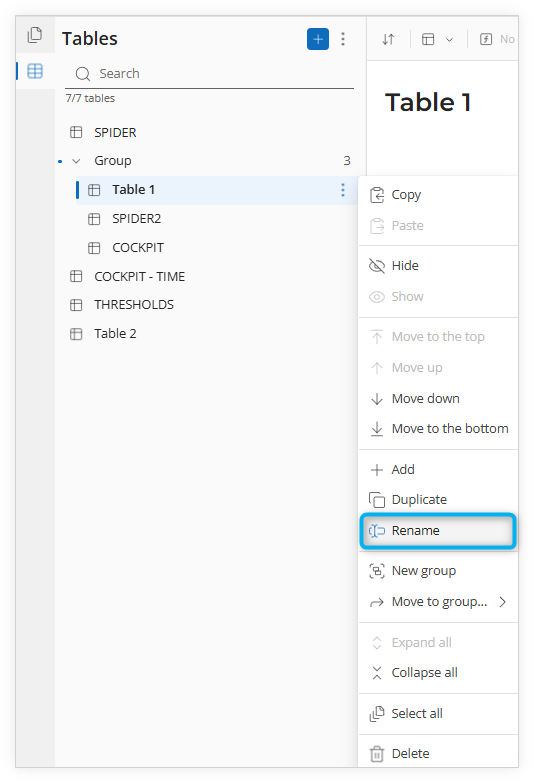
It is possible to change the name of the table or the group via an action in the context menu.
This will make the table/group name an editable text box. Clicking outside of the box or pressing Enter confirms the changes. Note that the name changes will be reflected in the tab names in Query and the title used in the table results view.
Hiding tables
Storybuilding mode grants access to the hide/show feature available for Tabs in the Query module. This determines if the given table will be visible in the Viewing mode. In Storybuilding, the hidden tables can be shown but are visually distinguished.
It is possible to hide/show tables using the context menu.
The action of hiding will also mark the tabs as hidden in the Query interface and will prevent the exposing of those tables in the Viewing interface.