Add Members to a Workspace and Grant Access Levels
After creating a new workspace, members can be added to it.
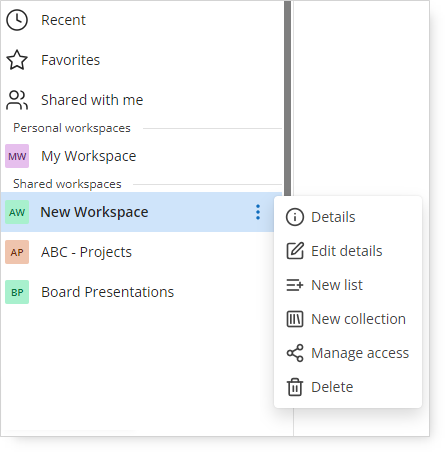
Select the workspace, click the 3-dot menu, and choose the Manage Access menu option.
Tip: If you want to keep this new workspace as an additional personal/private workspace, do not add anyone else to it.
Users or groups can be added to a workspace.
1. Specify who should be added to the workspace by typing part of the user's name or group or part of the user’s email address.
2. A maximum of five matches will appear as suggestions.
3. Continue typing to make your criteria more specific if you do not see the desired user(s) or group(s) appear as suggestions.
When selecting a group, all users who are members of the group will receive access to the workspace.
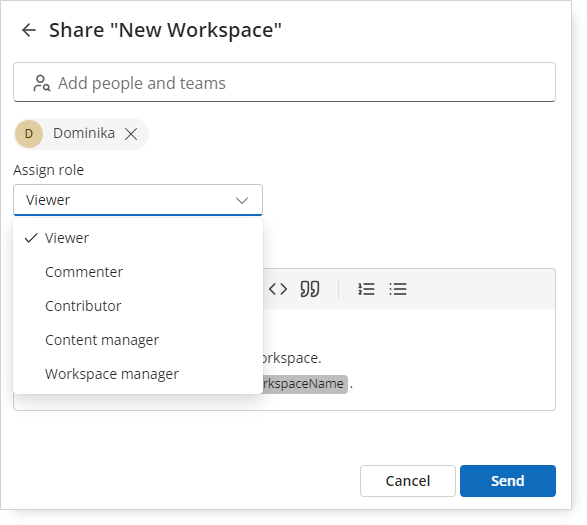
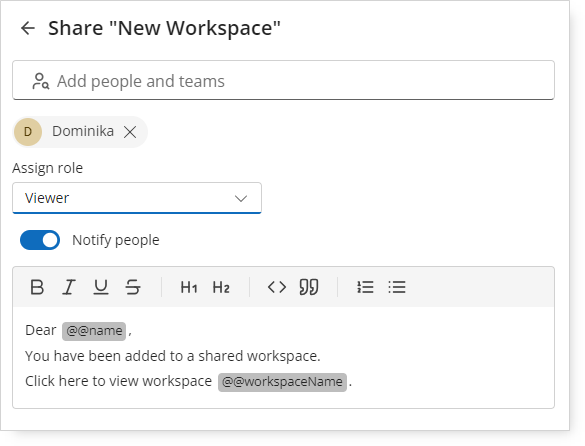
Choose the access level by selecting an option from the drop-down menu to assign a role to the selected user(s) or group(s).
Click the Send button to complete the role assignments.
A notification will appear in the upper-right corner as a confirmation.
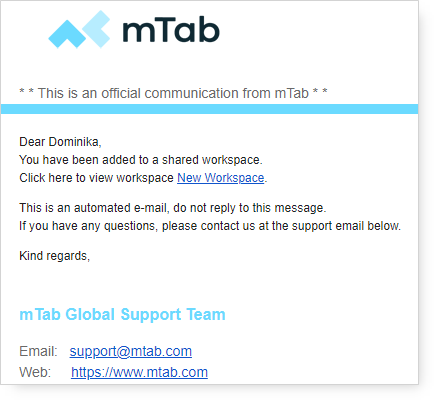
An email will be sent to the recipient(s) to inform them they were added to a shared workspace. If a group was added, the email notification will be sent to all members of the group.
The user(s) who were granted access will now be able see the shared workspace in their workspace tree.