Add Members to a List and Grant Access Levels
Users and Groups who were already granted access to the workspace that the list is in do not need to be given specific access to the list. All users and groups who have access to the workspace will inherit access to all collections and lists that currently exist in the workspace. Being members of the workspace, they will also automatically receive access to any new collections and lists that are added to the workspace at a later date. As long as access is granted to the workspace, users and groups will be able to access collections, lists, and content within the workspace.
Specific access to a list and the content items within that list can be granted to users or groups who do not have access to the workspace. For example, if there is content in the workspace that is not intended for all users, then lists (and collections) can be created. Those users or groups who are not granted access to the workspace, can be given access to a list. Those users or groups will receive only specific access to only that list and the content items included within the list.
To grant access to users or groups to only a list within a workspace and not the entire workspace, complete the following steps.
Lastly, as stated previously in the workspace access levels section, unlike workspaces, which have multiple roles to grant access (Viewer, Commenter, Contributor, Content Manager, Workspace Manager), the access levels for lists (and collections) are simpler, with two choices, Viewer or Editor).
After creating a new list, users or groups can be added to it.
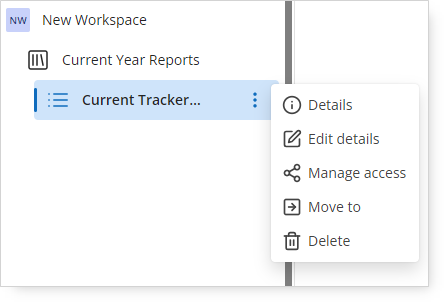
1. Select a list, click the 3-dot menu, and choose the Manage Access menu option.
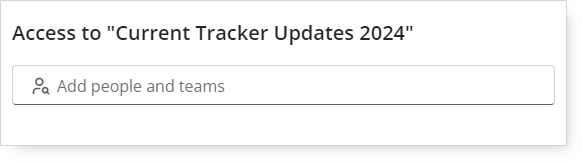
2. Specify who should be added to the list by typing part of the user's name or group or part of the user’s email address.
a. A maximum of five matches will appear as suggestions.
b. Continue typing to make your criteria more specific if you do not see the desired user(s) or group(s) appear as suggestions.
3. When selecting a group, all users who are members of the group will receive access to the list.
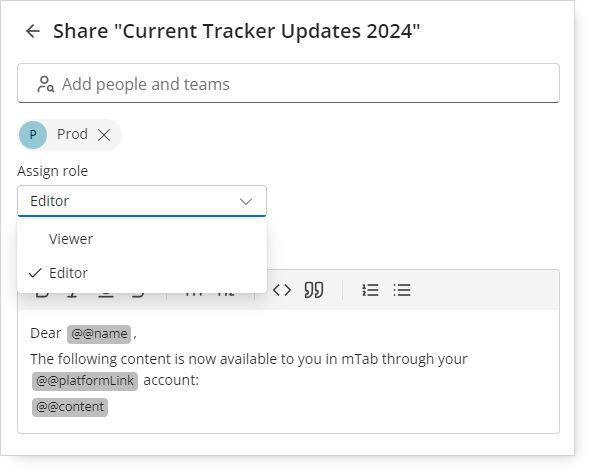
4. Choose the access level by selecting an option from the drop-down menu to assign a role to the selected user(s) or group(s).
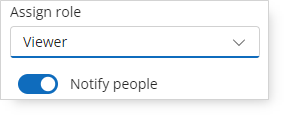
5. After selecting the access level (Viewer or Editor), there is an option to send an email notification to the user(s) to inform them that the collection has been shared with them. This option can be disabled if emails should not be sent.
6. Click the Send button at the bottom-right corner of the modal to complete the role assignments.
7. A notification will appear in the upper-right corner as a confirmation that the collection has been shared.
8. An email will be sent to the recipient(s) to inform them a list was shared with them. If a group was added, the email notification will be sent to all members of the group.
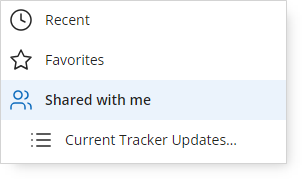
9. The user(s) who were granted access will see the shared list under Shared with me.
10. When users are given access to specific lists (and collections) instead of being granted access to the entire workspace, the collection(s) and list(s) will appear in Shared with me instead of a workspace in the workspace tree. This was done out of privacy concerns. Since users who are given access to only specific collection(s) and list(s) and not the entire workspace, they are not members of the workspace and therefore the workspace name is not exposed to them.